Mark electrical cables for easier assembly later. Remove winch from vehicle.
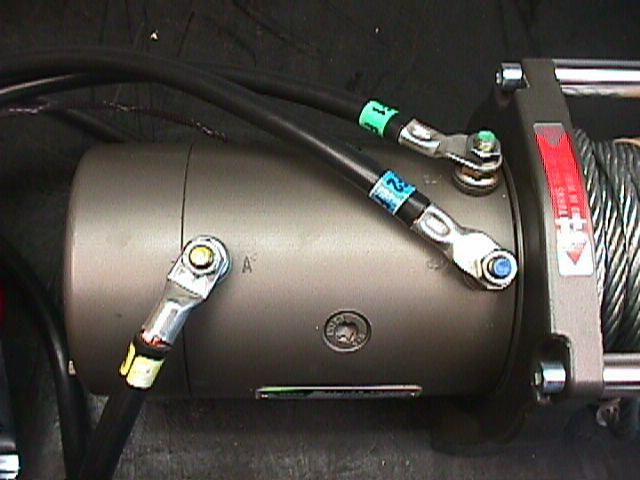
Repairs are easier and safer when winch is removed from vehicle and located on a workbench.
Disconnect cables from the control pack, and disconnect the battery ground cable.
Remove motor from the motor end drum support by removing the two motor bolts.
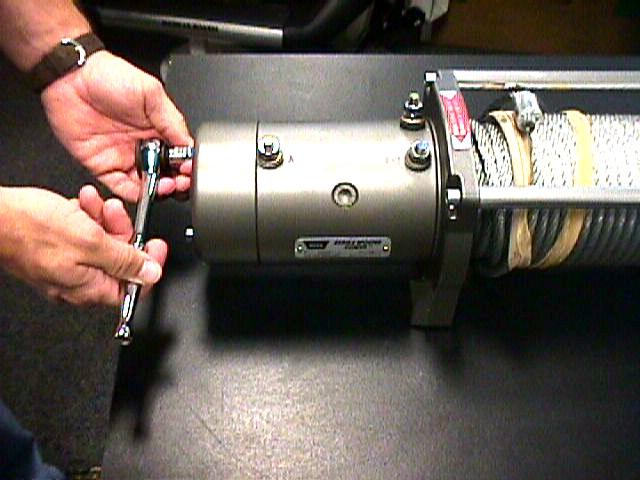
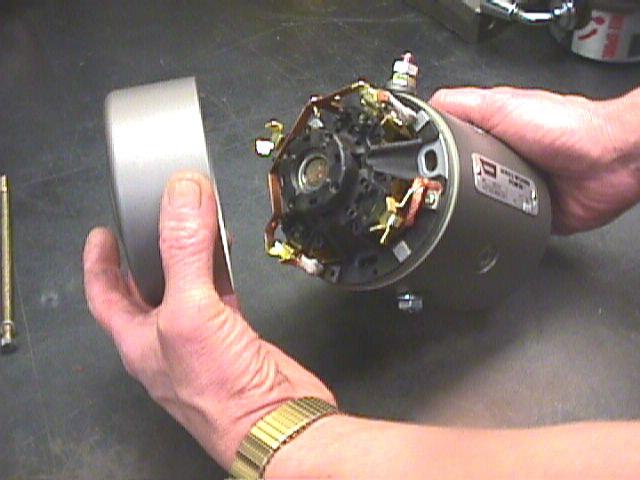
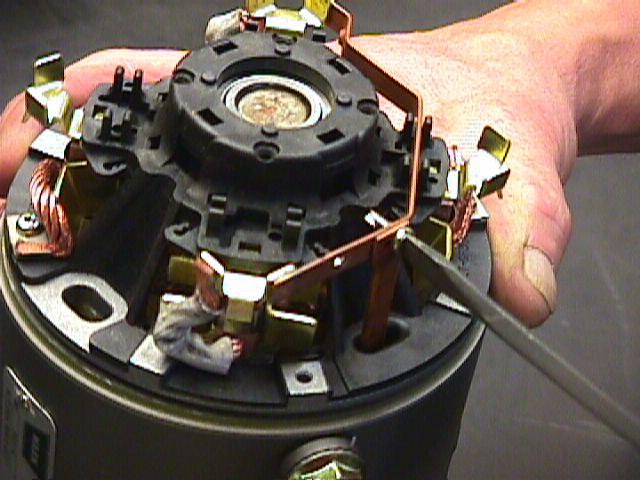
Remove motor end cap from motor housing - plastic brush holder and brushes will be visible
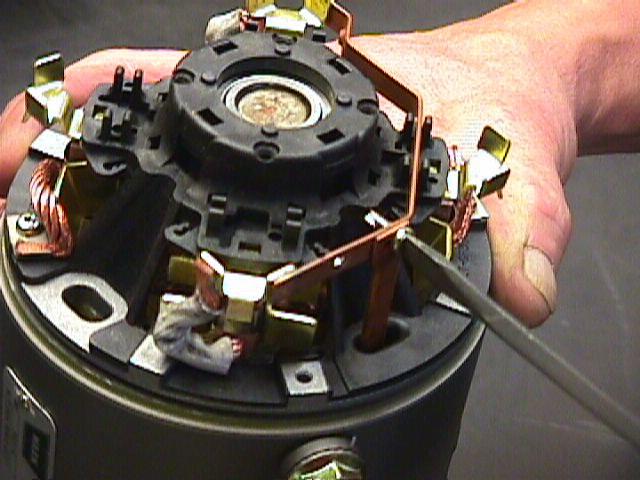
Remove screw from copper strap. This will allow the release of the brush holder from the motor housing.
Pull armature firmly to remove from motor housing and brush holder.
Remove armature carefully to prevent breaking of lock tabs that secure armature bearing to brush holder.
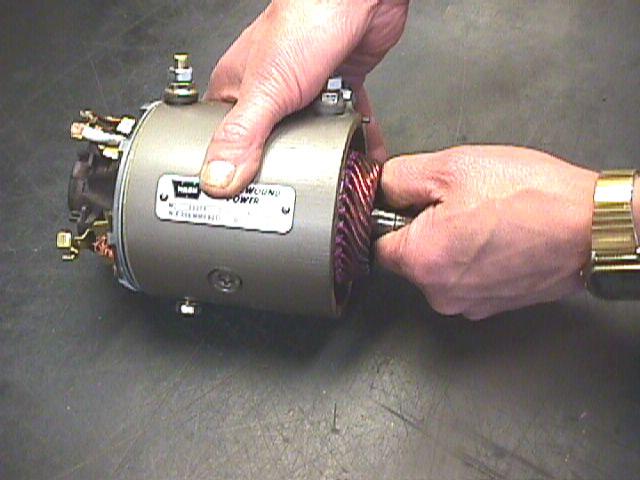
Remove the brush holder from the motor housing.
Inspect brushes, replace brushes if they measure less then 12mm in length.
Note the location position of the slot the brass strap slides through.
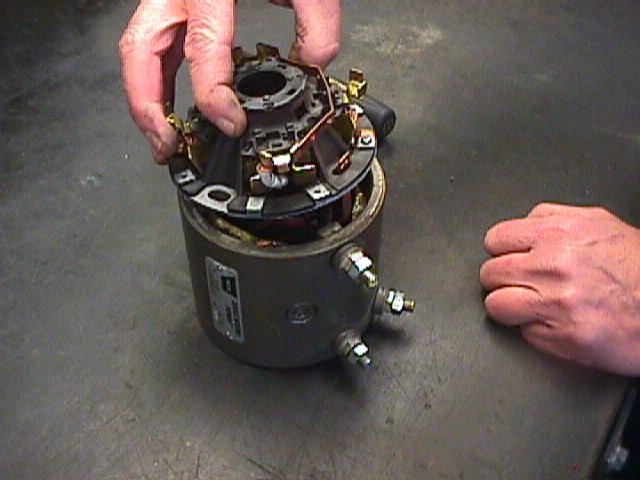
Secure the four brushes. Pull the brush outward and angle them down so they stay secured in the bracket.
The brushes must be secured before the armature can be installed.
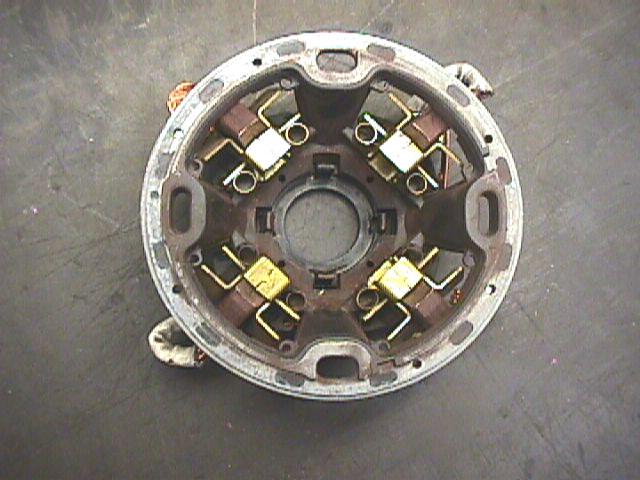
Align brush holder slot with motor housing strap so it lines up with screw hole.
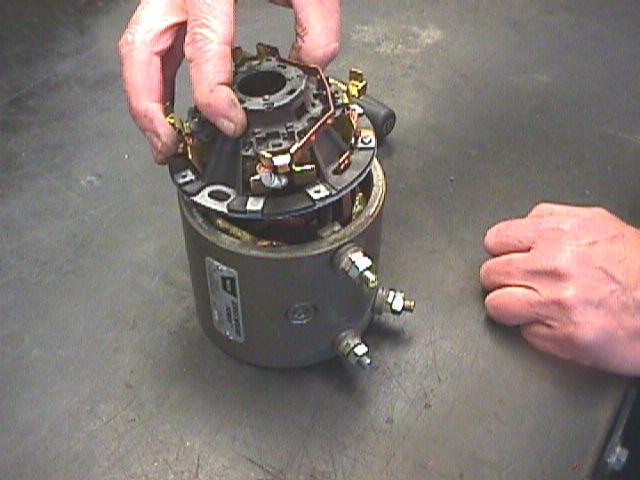
Carefully install armature into motor housing.
Place brush holder on flat surface, gently align motor housing, armature and brush holder.
Snap armature bearing into brush holder clips.
Secure motor housing strap to brush holder.
Inspect all electrical connections to ensure they are tight. Inspect cable insulation for damage, and make sure cables are not being pinched.
Reinstall motor cap assembly.

Install the motor on to the drum support making sure that the index pin in the motor housing seats into the index hole in the end support.
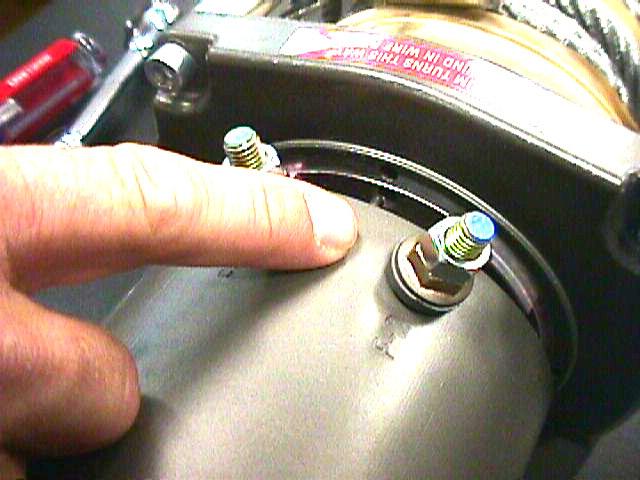
You may need to rotate the motor back and forth to get the splines on the motor to line up with those in the motor coupler.
Secure the motor to the drum support with the two motor bolts.


 The article has been updated successfully.


